My RC Scale Garage in 1/10


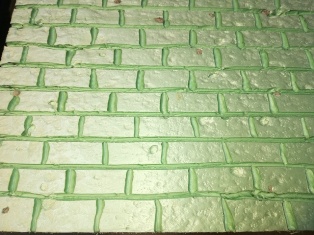
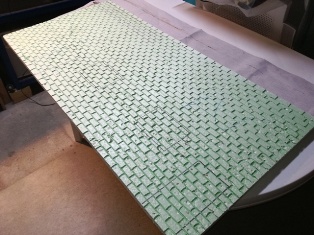
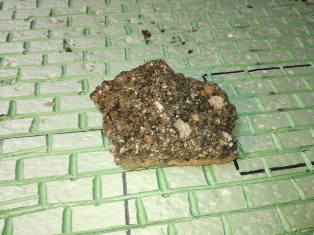
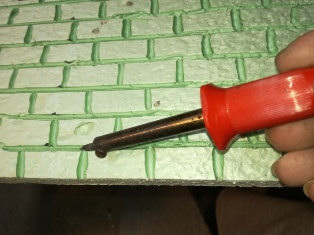
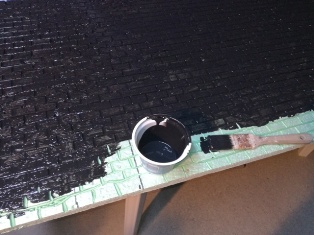
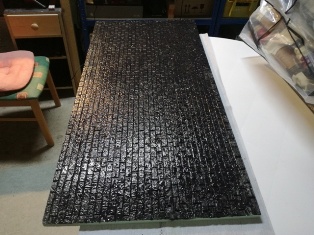
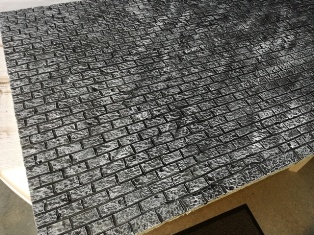
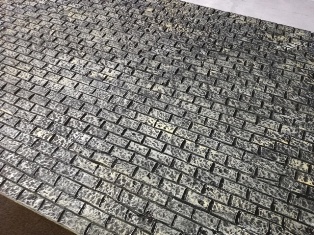
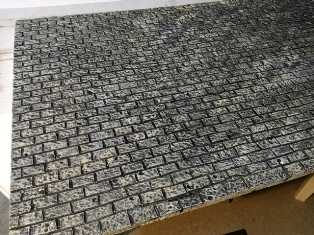
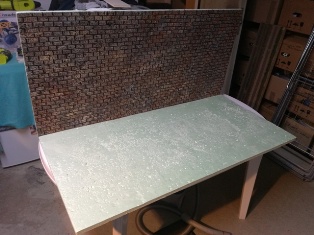
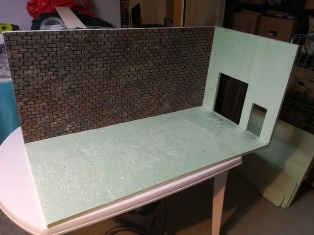
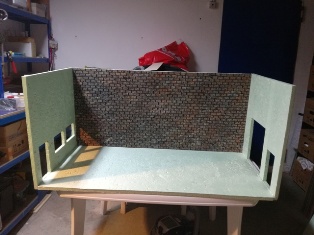
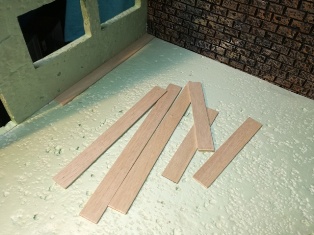
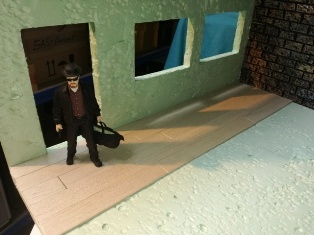
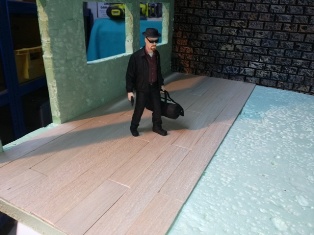
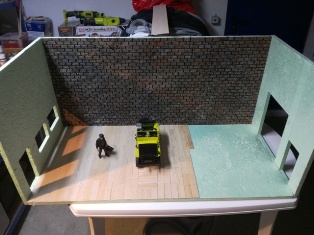
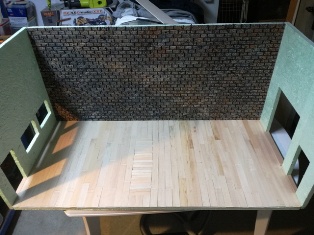
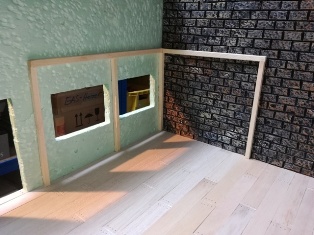
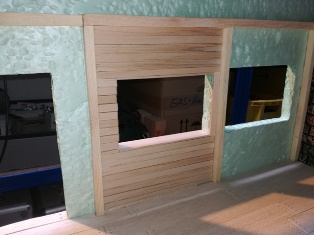
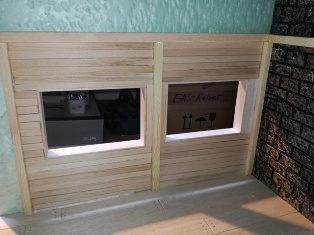
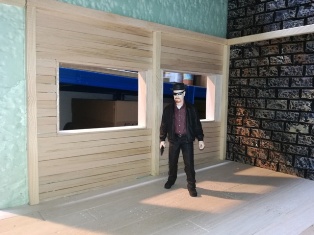
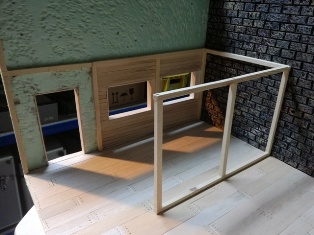
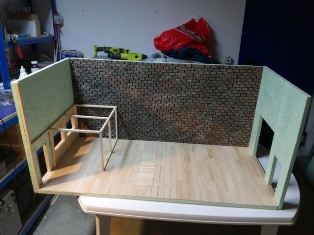
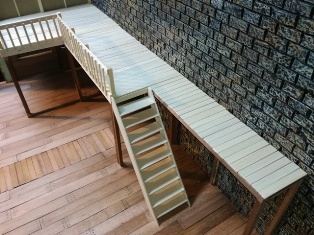
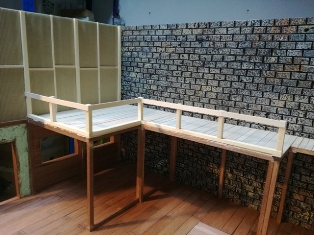
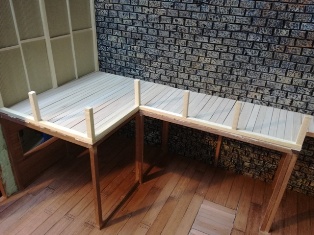
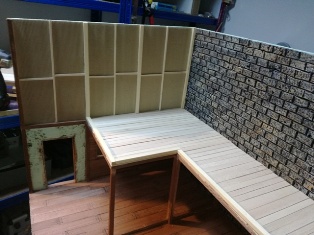
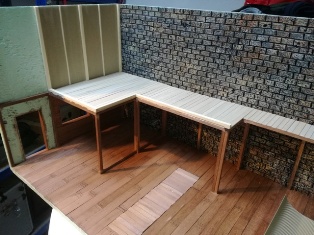
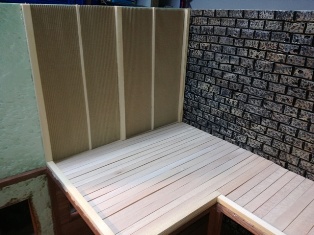
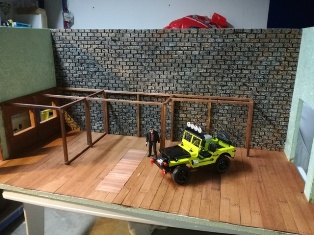
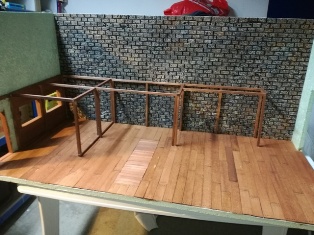
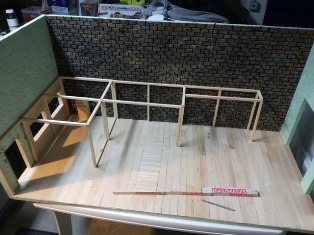
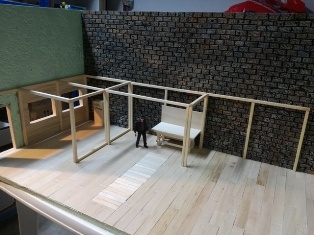
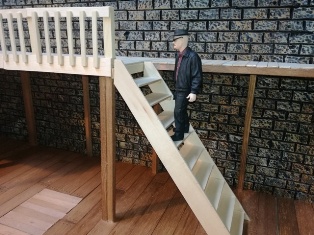
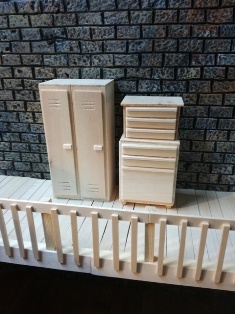
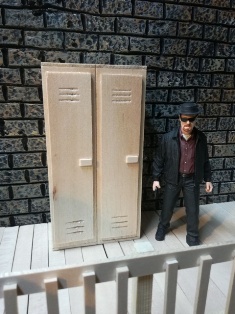
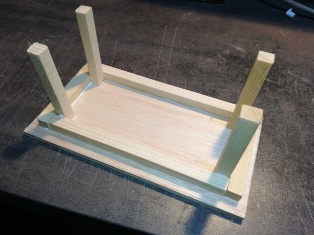
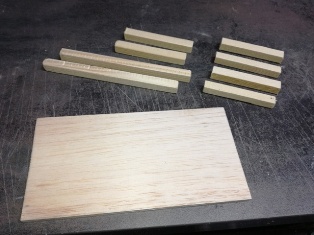
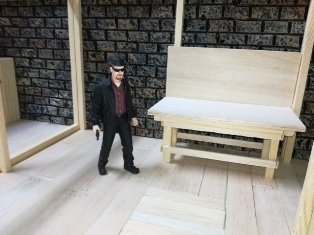
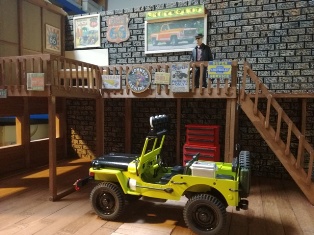
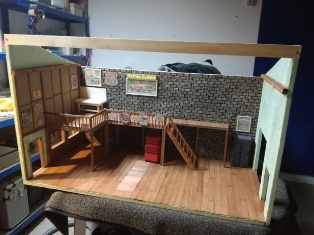
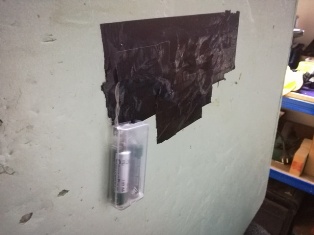
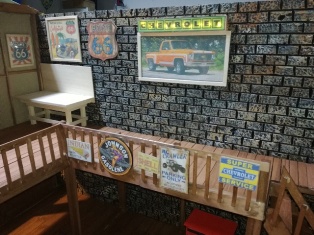
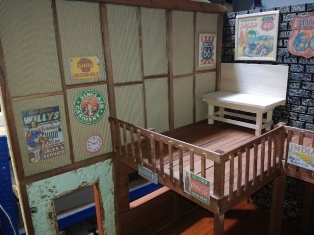
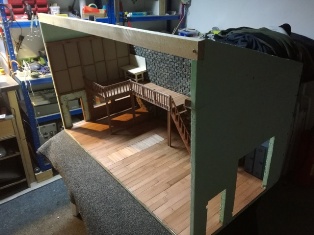
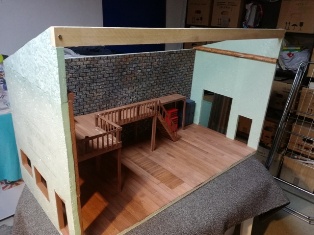
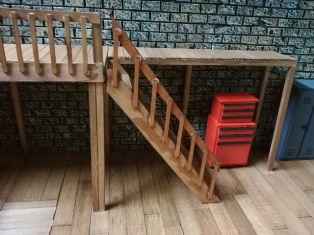
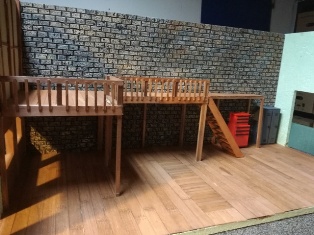
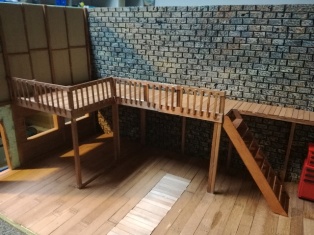
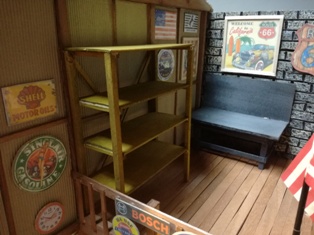
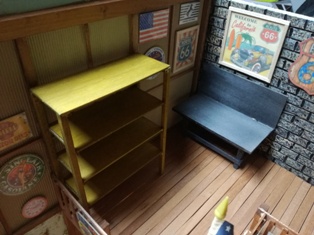
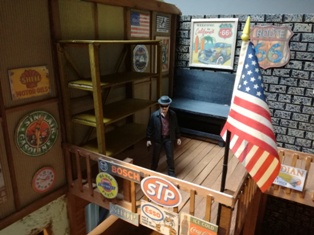
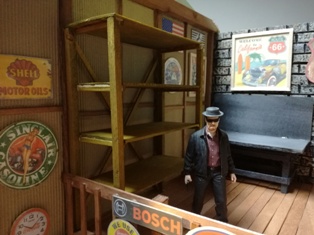
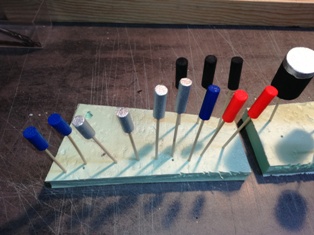
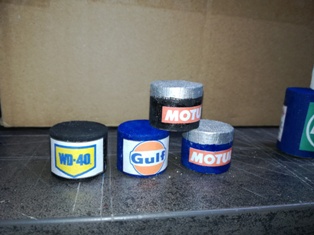
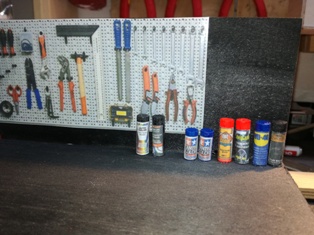
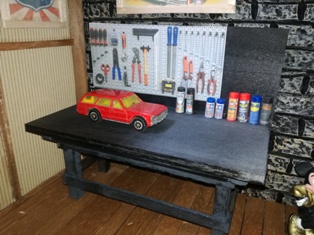
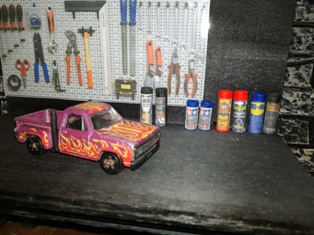
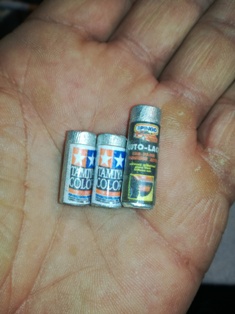
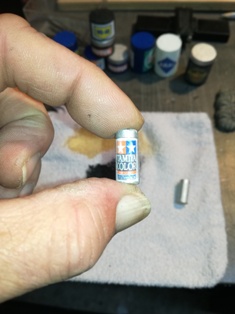
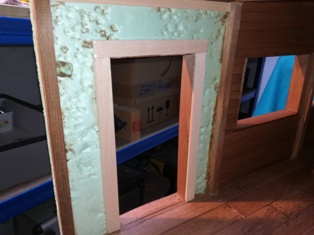
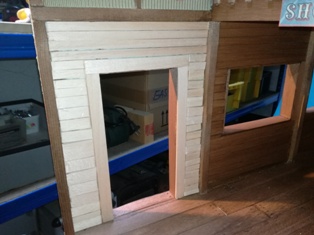
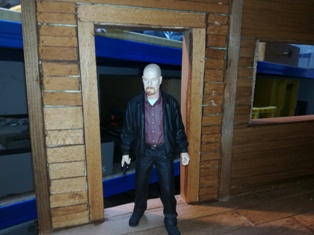
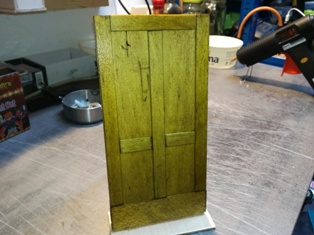
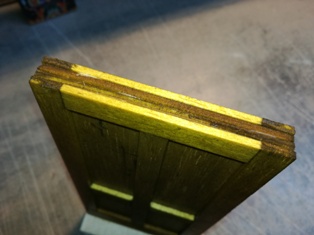
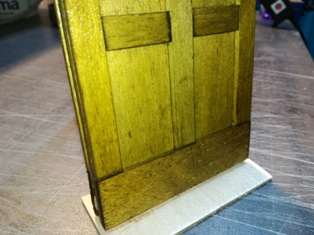
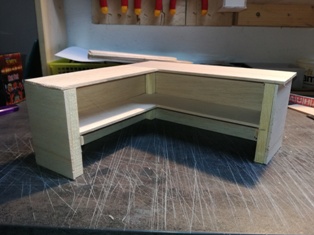
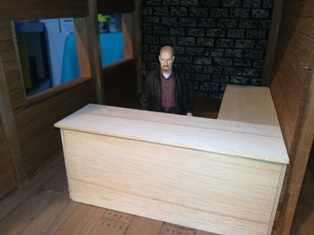
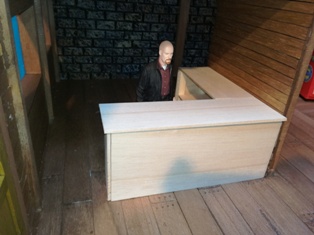
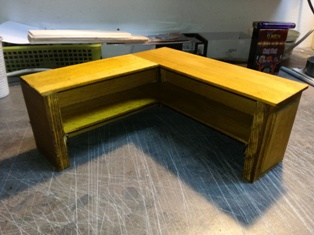
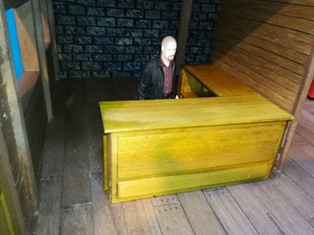
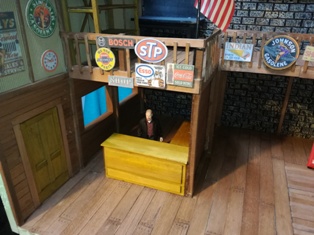
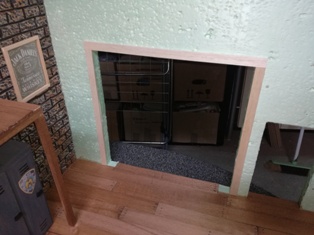
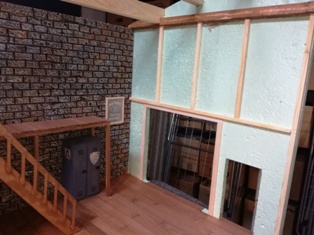
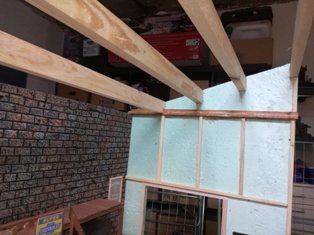
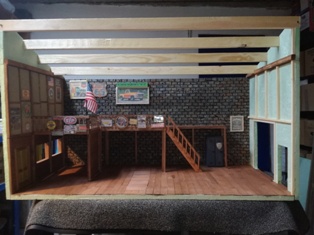
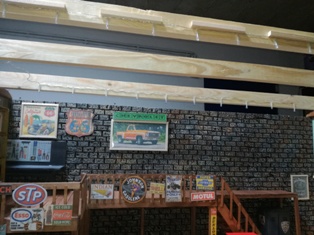
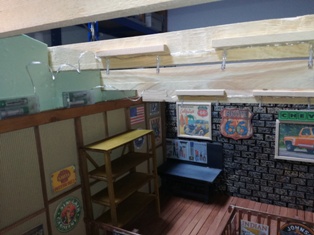
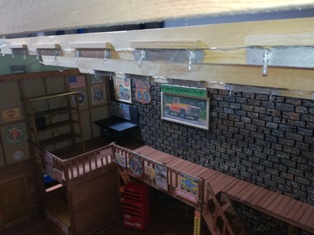
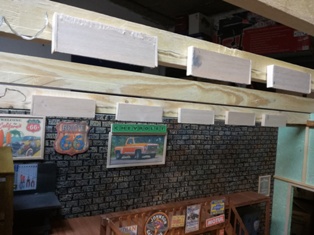
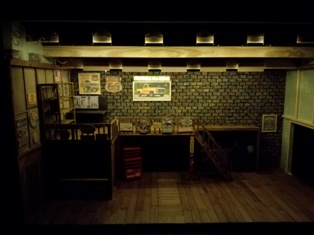
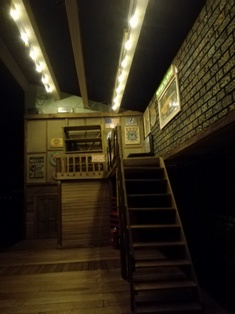
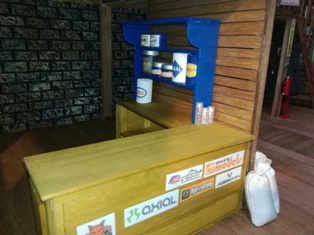
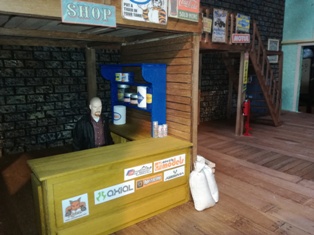
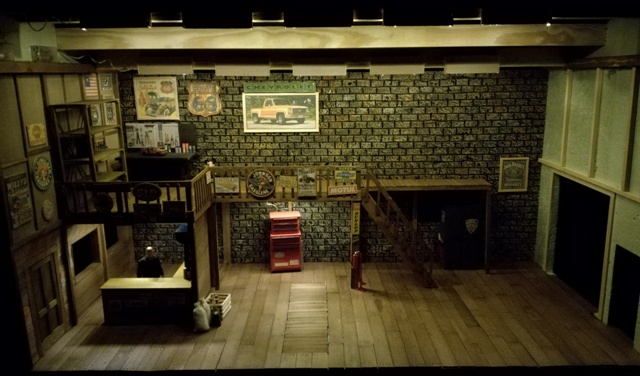
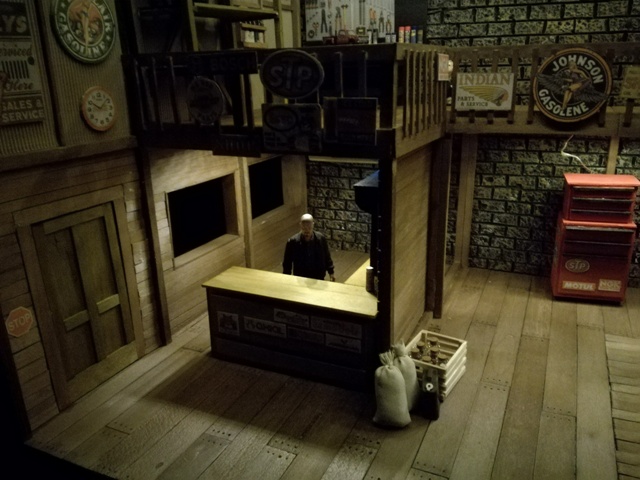
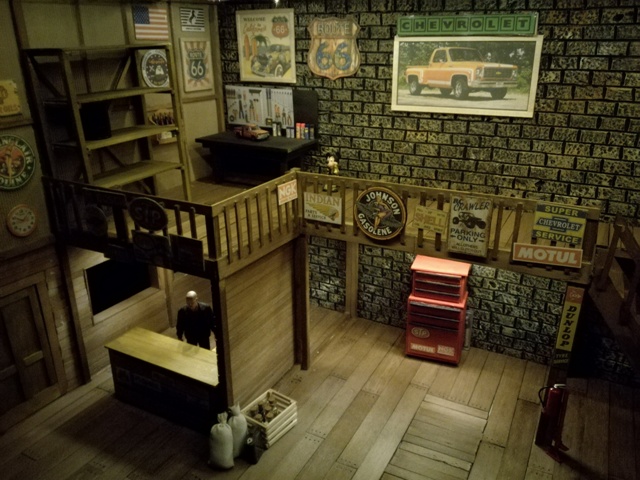
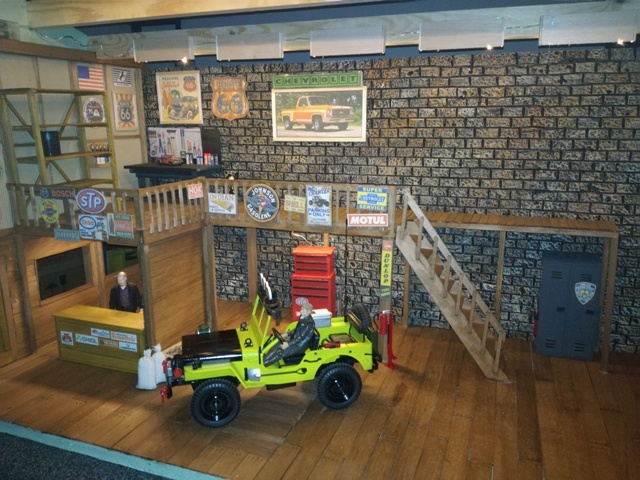
Bau einer Scale Garage im Maßstab 1:10.

Die Garage bekommt eine Größe von 100x60cm. Angefangen habe ich mit der Rückwand. Die gesamte Garage, sowie Boden und Wände werden aus Styrodur. Die Rückwand bekommt eine Steinstruktur. Als erstes habe ich mit einem Bleistift die Struktur angemalt und danach mit einem Lötkolben nachgezogen. Durch die Hitze des Lötkolbens zieht sich das Styrodur zusammen und ergibt im Ergebnis dann diese Rillen wie auf den Bildern zu sehen ist. Mit einem Stein drückte ich vorher noch die Struktur der Steine in die Platte. Danach erfolgte ein Grundanstrich in schwarz. Nach dem Trocknen wurde in Drybrush Technik "weiß, Sahara beige und Topas braun" aufgetragen.

****************************

Building a 1:10 scale garage.

The garage gets a size of 100x60cm. I started with the back wall. The entire garage, as well as the floor and walls are made of Styrodur. The back wall gets a stone structure. The first thing I did was to paint the structure with a pencil and then draw it with a soldering iron. The Styrodur contracts due to the heat of the soldering iron and results in these grooves as shown in the pictures. This was followed by a base coat in black. After drying, "white, sahara beige and topaz brown" was applied using the drybrush technique.


Als nächster Schritt folgte die Montage auf die Grundplatte. Ich verwende für das kleben in den meisten Fällen Holzleim oder Heißkleber. Die Fensterausschnitte sind 8x10cm, die Türen sind 22x10cm und das Tor ist 30x30cm.

Danach erfolgte die Verlegung der Holzplatten für den Garagenboden. Es sei bemerkt, das die Garage nicht in einem modernen Stil gebaut wird. Sie wird eher eine Garage werden, die in den 1960ger Jahren mal errichtet worden ist.

Nach dem Boden beginnt der Bau mit dem ersten Raum wo mal ein kleiner Shop mit Büro hin kommen soll. Darüber wird eine Veranda entstehen für Ersatzteile, Reifen und so weiter. Für den Bau verwende ich Balsaholz und Leisten welche ich mir aus normalen Dachlatten geschnitten habe. Die Wandvertäfelung ist auch aus Balsaholz und mit Heißkleber an der Wand verklebt.

**********************************

The next step was assembly on the base plate. I use wood glue or hot glue for the gluing in most cases. The window cutouts are 8x10cm, the doors are 22x10cm and the gate is 30x30cm.

Then the wooden panels for the garage floor were laid. It should be noted that the garage is not built in a modern style. It will be more like a garage that was built in the 1960s.After the floor, construction begins with the first room where a small shop with an office should come. A veranda will be built above for spare parts, tires and so on.

For the construction I use balsa wood and moldings which I cut from normal roof battens. The wall paneling is also made of balsa wood and glued to the wall with hot glue.


Um nun auf das Obergeschoß zu kommen benötigt man natürlich eine Treppe. Auch hier verwende ich Balsaholz als Material. Ein Geländer darf auch nicht fehlen.

Die Wandverkleidung habe ich aus Wellpappe gemacht. Diese bekommt man in jedem gut sortierten Bastelladen. Auch hier habe ich den Boden aus Brettern ausgelegt. Nachdem dann alles soweit verbaut war habe ich alles mit normaler Holzbeize bestrichen.

*************************

To get to the upper floor, of course, you need a staircase. Again, I use balsa wood as the material. A railing should not be missing either.I made the wall covering out of corrugated cardboard.

You can get these in any well-stocked craft shop. Here, too, I laid the floor out of boards. After everything was installed so far, I coated everything with normal wood stain.


Für die Inneneinrichtung habe ich mir gedacht, benötigen wir erst einmal einen Schrank und einen Werkzeugwagen. Beide habe ich aus Balsaholz gebaut und mit Heißkleber verklebt.

***************************

For the interior, I thought we first need a cupboard and a tool trolley. I built both of them from balsa wood and glued them with hot glue.


Auch eine kleine Werkbank darf nicht fehlen.

************************

A small workbench should not be missing either.


Hier sieht man schon einen weiteren Fortschritt meiner Bastelei. Die Inneneinrichtung hat einiges an Details bekommen. Bilder sind nun schon an der Wand. Werbung und Service Plakate. Die Bilder sind natürlich auf dem Computer entstanden, ausgedruckt auch auf Pappe aufgeklebt.

Das Chevy Plakat ist oberhalb mit einer Leuchtreklame versehen, welche ich mit LED´s von hinten eingesteckt habe.

**************************

Here you can already see another progress of my tinkering. The interior has got a lot of details. Pictures are already on the wall. Advertising and service posters. The pictures were taken on the computer, of course, and also printed on cardboard.

The Chevy poster is provided with a neon sign above, which I inserted with LEDs from behind.


Ein weiteres Möbelstück entsteht. Hier seht ihr wie ich ein passendes Regal für die obere Etage gebaut habe. Material ist Balsaholz und alles mit Heißkleber verklebt.

*******************************


Another piece of furniture is created. Here you can see how I built a suitable shelf for the upper floor. Material is balsa wood and everything is glued with hot glue.


Nun steht das Regal an seinem Platz

******************

Now the shelf is in place


Hier bastel ich nun kleine Spraydosen und Oeldosen.

Hier benötigt man 4-5mm Rundholz für die Sprydosen und 12-15mm Rundholz für die Oeldosen. Diese werden entsprechend angestrichen. Die Aufkleber für die Dosen kann man sich dann aus dem Internet holen, entsprechend auf dem PC verkleinern , anpassen und ausschneiden. Danach beliebig auf die kleinen Hölzer aufkleben.

*************************

Here I am now making small spray cans and oil cans.

Here you need 4-5mm logs for the spray cans and 12-15mm logs for the oil cans. These are painted accordingly. You can then get the stickers for the cans from the Internet, reduce them accordingly on the PC, adapt and cut them out. Then glue on the small pieces of wood as desired.


Hier wurde nun endlich die lang ersehnte Tür gebaut. Als erstes wurde der Türrahmen gebaut und die Wand vertäfelt. Die Tür besteht aus 4 Lagen Balsaholz , welche nach und nach aufgebracht wurden. Eingefärbt wurde die Tür mit normaler Holzbeize in Nussbaum.


************************


The long-awaited door was finally built here. First the door frame was built and the wall was paneled. The door consists of 4 layers of balsa wood, which were gradually applied. The door was colored with normal wood stain in walnut.


Hier ist nun die Verkaufstheke. Auch diese habe ich aus Balsaholz gebaut und wurde ebenfalls mit Beize in Nussbaum behandelt.

*************************

Here is the sales counter. I also built this from balsa wood and was also treated with stain in walnut.


Hier wurde nun weiter an der rechten Wand und am Dach gearbeitet. Zuerst wurden Garagentor und Tür mit Zargen versehen. Danach die Querbalken angebracht. Für die Dachkonstruktion verwende ich normale Dachlatten. Daran wurden auch die LED´s angebracht. Dafür nehme ich eine ganz normale Weihnachtsbeleuchtung mit 10 LED´s , welche man für schlappe 2 Euro bekommt. Diese werden allerdings mit Batterie betrieben. Die Schalterboxen werden dezent im Dach versteckt.

****************************

Here we continued to work on the right wall and on the roof. First, the garage door and door were provided with frames. Then the crossbars attached. I use normal roof battens for the roof construction. The LEDs were also attached to it. For that I take a normal Christmas lighting with 10 LEDs, which you can get for a mere 2 euros. However, these are powered by batteries. The switch boxes are discreetly hidden in the roof.


Die Verkaufstheke bekommt noch ein kleines Regal für die Lack und Spraydosen. Dieses Regal ist ebenfalls aus Balsaholz und danach mit normalen Buntlack gestrichen.

********************

The sales counter gets a small shelf for the paint and spray cans. This shelf is also made of balsa wood and then painted with normal colored paint.


Hier nun mal einige kleine Impressionen

Here are some small impressions


Bald gehts weiter

It will soon continue