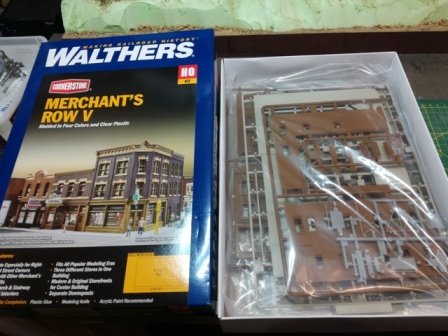
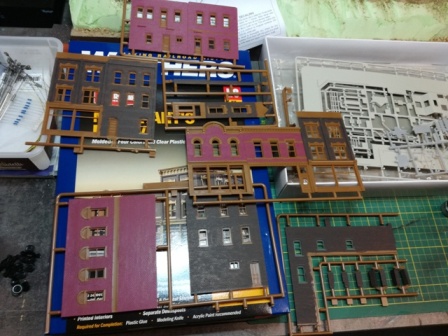
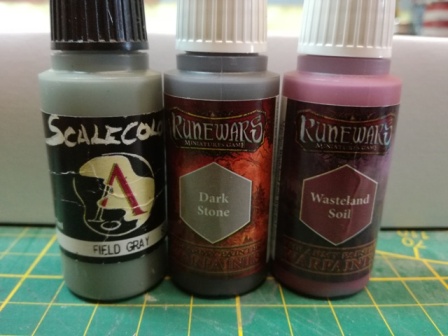
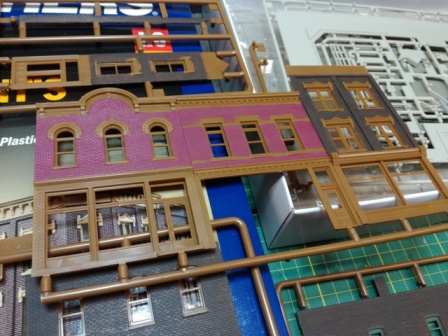
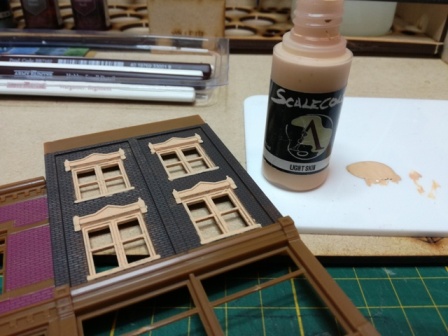
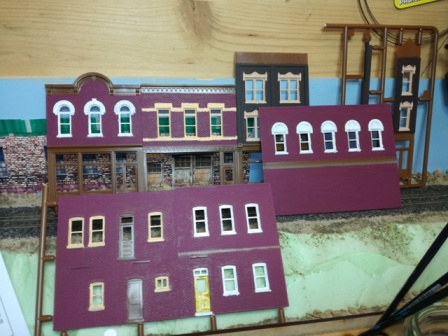
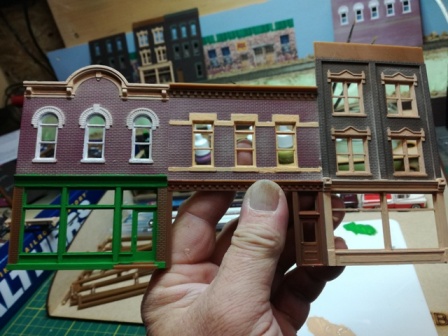
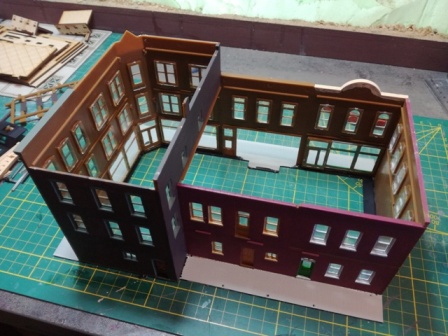
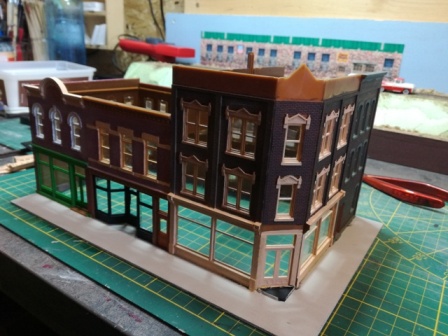
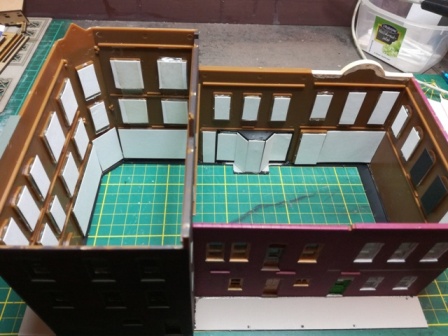
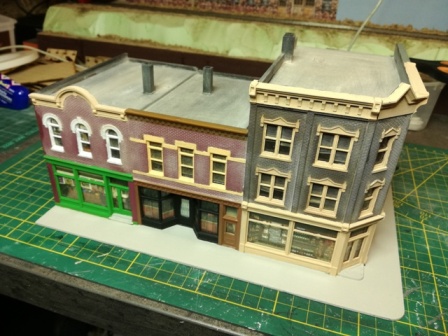
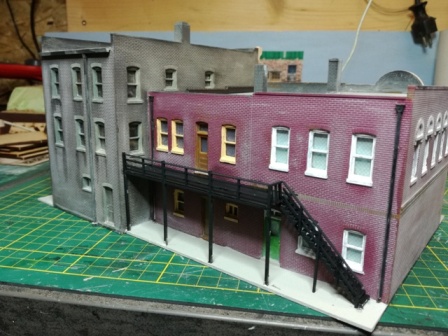
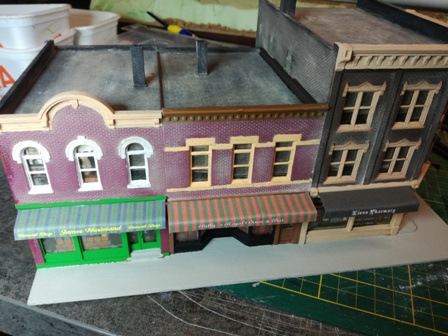
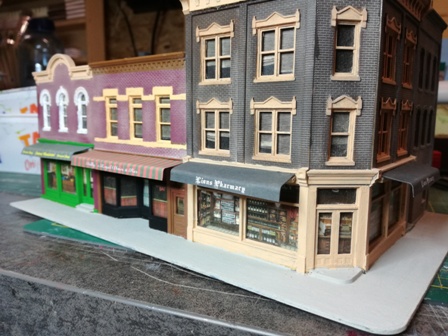
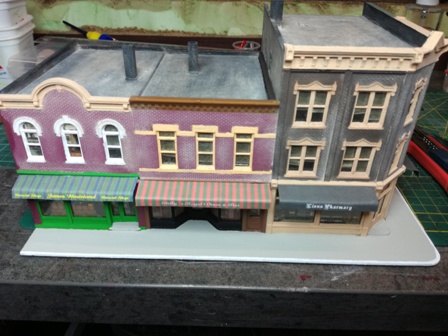
| Hier beschreibe ich, wie ich mit dem Bau des Bausatzes von Walthers "Merchants ROW V" vorgegangen bin. Da ich alle Teile farblich behandel, bleiben sie auch in ihrem Gussrahmen. Zur besseren Handlichkeit werden die Teile nur getrennt. Ich benutze in der Regel für die farbliche Behandlung Farben von Vallejo, Scale Color, Army Painter oder Citadel. Einige Teile werden aber vorher noch schwarz Grundiert. Nachdem ich alle Mauerteile bemalt habe, beginne ich mit den Fensterrahmen und den Mauerstürzen. Nach einer kleinen Trocknungsphase werden alle Teile aus dem Gussrahmen entfernt. Als nächster Schritt werden die Fenster eingeklebt und mit dem Dekor versehen. Nun beginnt das Zusammenkleben aller Bauteile. Zum Schluss wird das Dachaufgesetzt. Als letzter Schritt ist das Farbliche behandeln mit Pigmentfarbe um die Alterung des Gebäudes hervor zu heben. Als letztes wir der Bürgersteig noch mit Betonfarbe gestrichen. Die komplette Photo-Story findet ihr hier in meinem Google Photo-Album
|
||
 |
 |
 |
 |
 |
 |
 |
 |
 |
 |
 |
 |
 |
 |
 |
 |
 |
 |
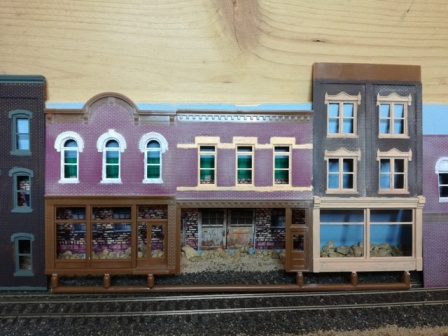
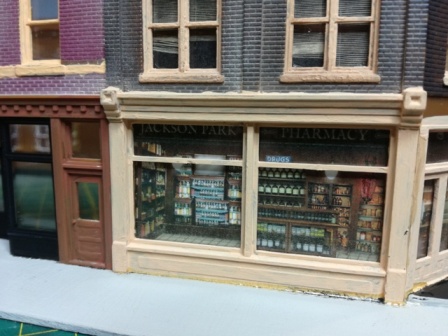
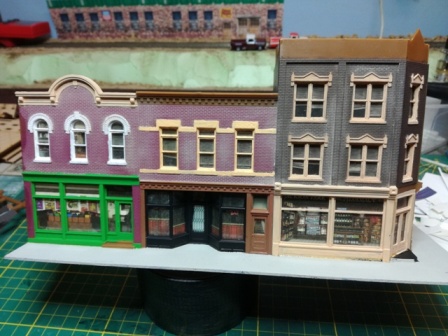
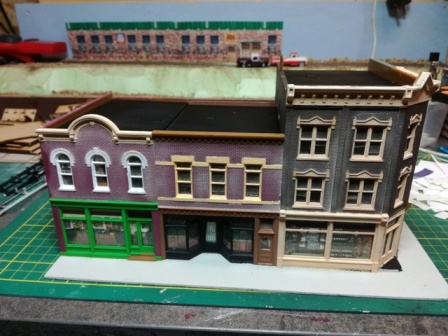
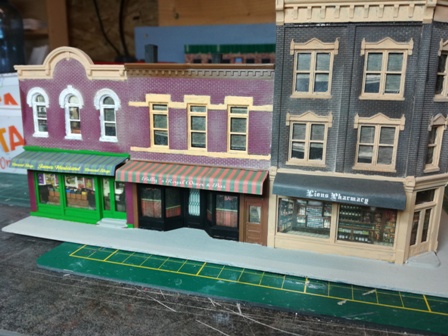
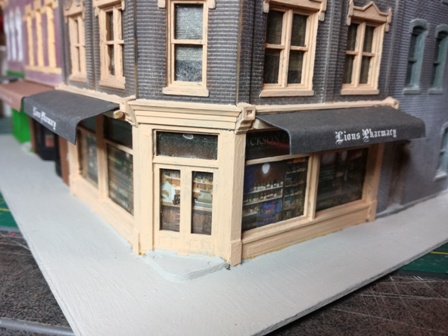
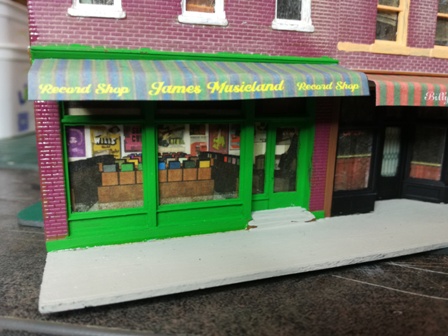
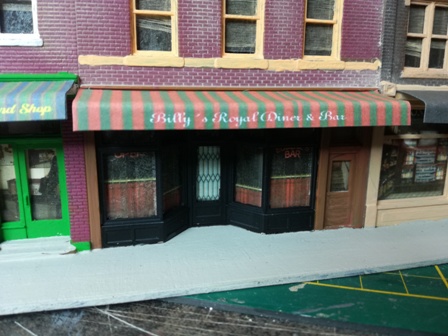
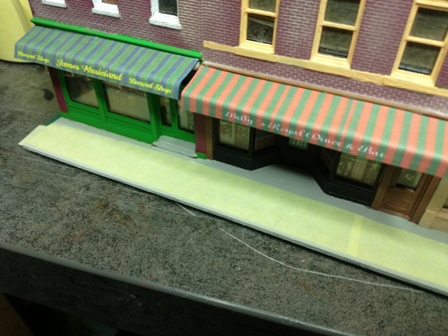
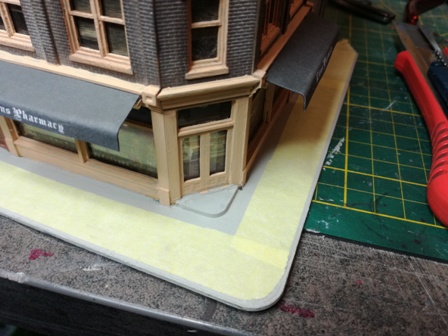
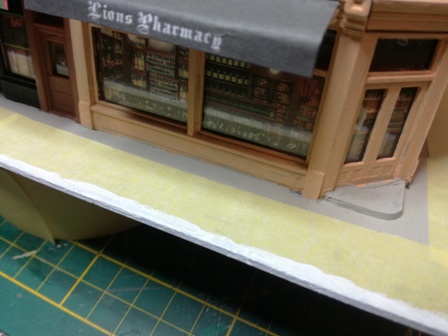
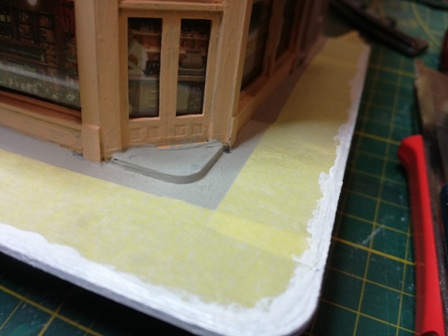
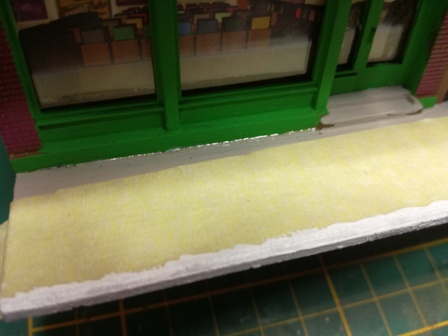
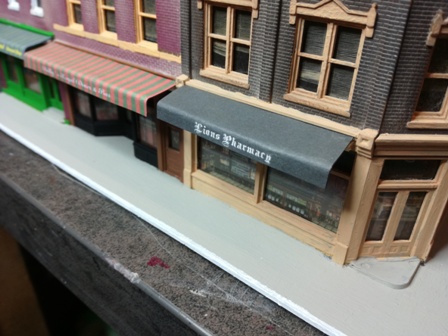
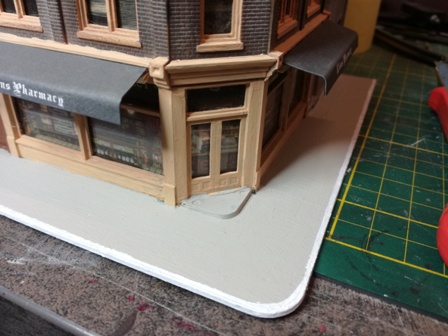
| Nun habe die Geschäfte auch ihre Sonnenmarkisen bekommen. Diese habe ich am Computer gemacht und auf normalen Papier ausgedruckt. Dann wurden sie ausgeschnitten und auf schwarze Bastelpappe geklebt und wieder ausgeschnitten. Die Falzkante beträgt 4-5mm. Von unten ist das Ende der Markise mit einem 1mm dicken Balsaholz verstärkt und dann mit Heißkleber an das Gebäude angebracht. Als nächstes musste noch der Bordstein weiß gestrichen werden. Zuerst habe ich ihn abgeklebt und danach mit einem matten weiß gestrichen. Nach dem die Farbe getrocknet war konnte ich das Klebeband entfernen. Das Ergebnis ist ganz ordentlich.
|
||
 |
 |
 |
 |
 |
 |
 |
 |
 |
 |
 |
 |
 |
 |
 |
 |
||